An AI lookbook starts with a clear outfit image and turns it into styled on-model options. The useful part is not generating as many images as possible; it is selecting outputs that preserve the product and fit the intended channel.
Solo Lookbook takes your outfit image and generates a lookbook with an AI model wearing it. Set the outfit, model, and background, and a polished fashion shot comes together in one go.
You don’t even need to upload your own model or background — LaonGEN’s recommended sets have you covered. So you can start with almost nothing on hand 🙌
Who’s this for? 👀
- Sellers who need on-model shots without paying for a shoot
- Anyone who wants fast images for product pages and Instagram
- First-time LaonGEN users making their first lookbook
What you’ll need 🧰
Before generating, get the following images ready.
| Item | Required | Description |
|---|---|---|
| Outfit image | Required | The clothing your model will wear. Includes tops, bottoms, dresses, outerwear, shoes, bags — any styling element you want in the lookbook. |
| Model image | Optional | A face image for the model. Skip this and use LaonGEN’s recommended models. |
| Background image | Optional | A reference for location, mood, and pose direction. Skip this and use LaonGEN’s recommended backgrounds. |
✋ Just one thing! Only the outfit image is required. Models and backgrounds can use the recommended sets, so a single outfit photo is enough to get started.
Solo Lookbook, step by step
STEP 1. Go to “Create Lookbook” 📍
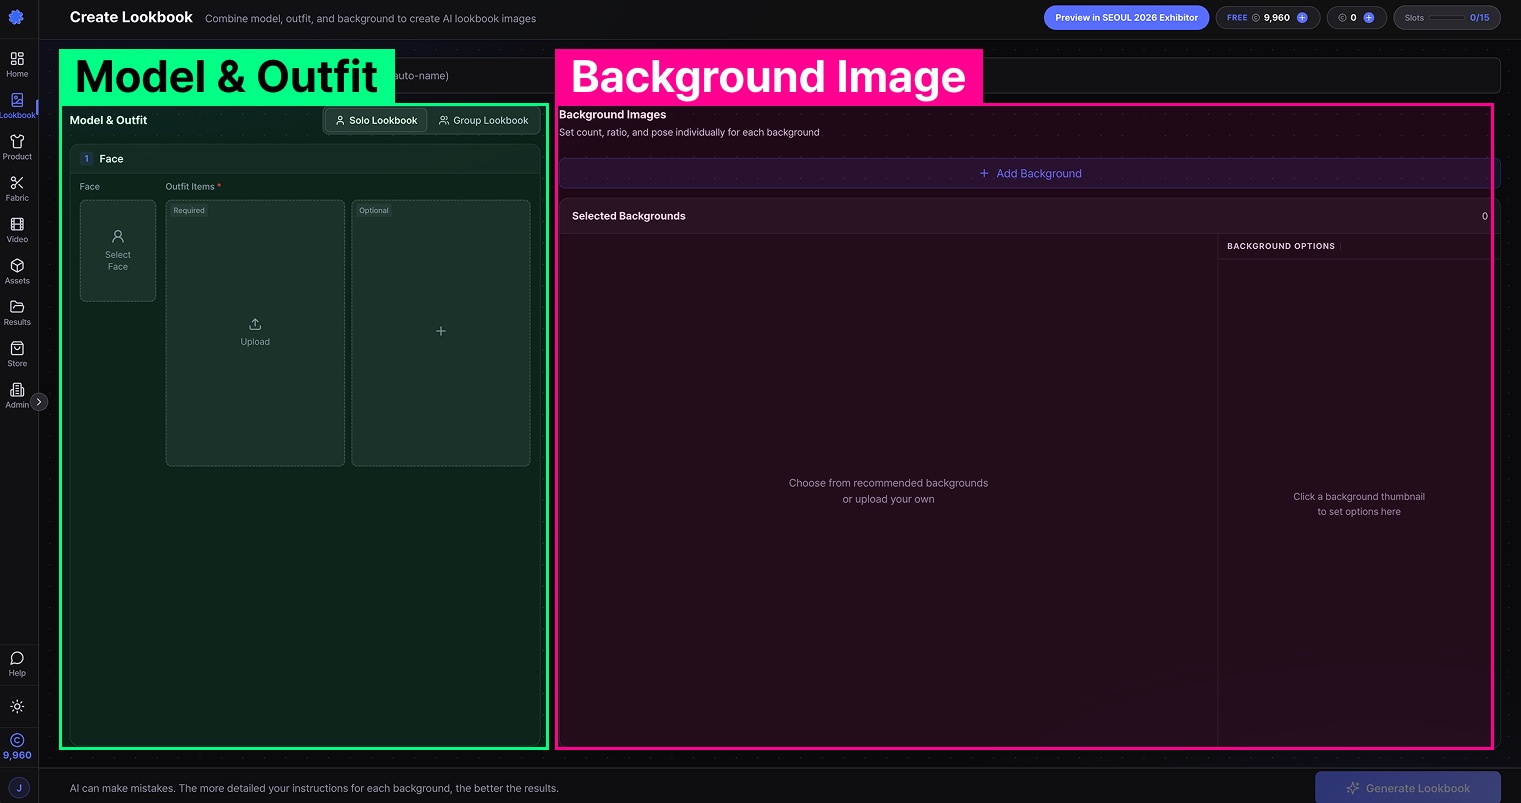
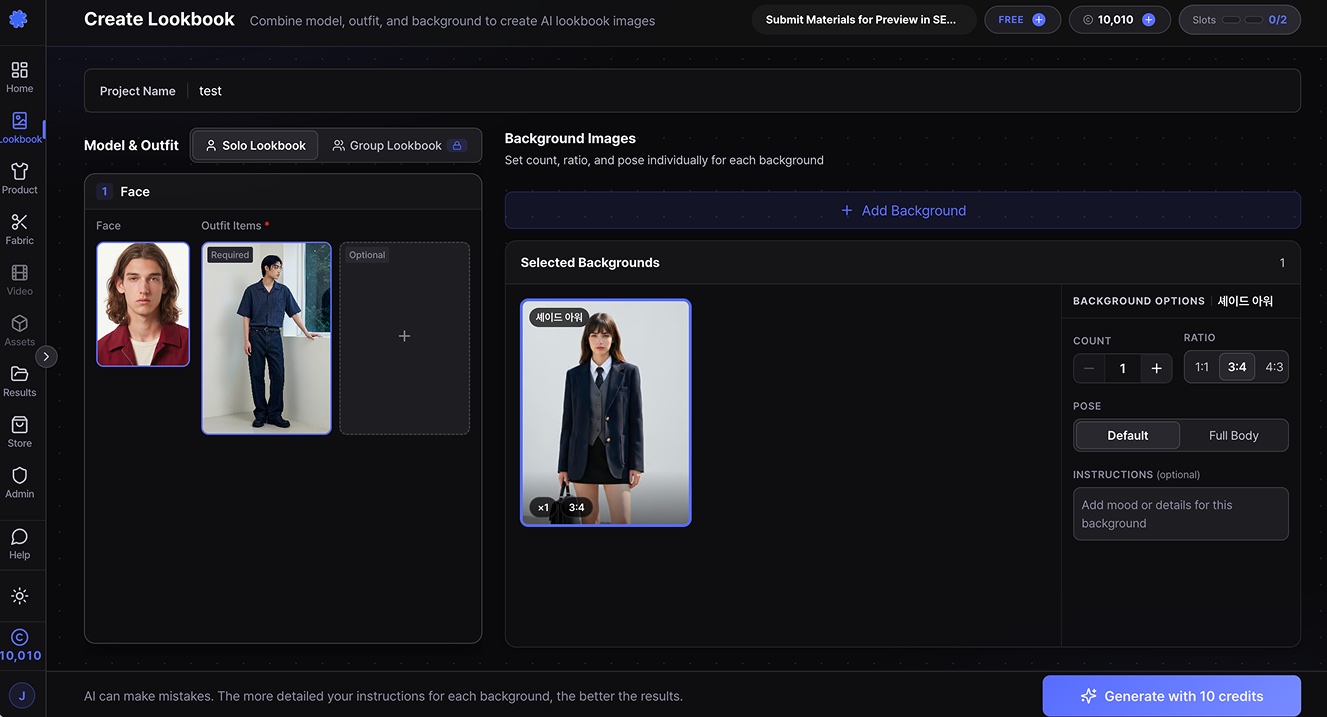
From the top menu, select Create Lookbook. The screen splits into two areas.
- Model & Outfit area
- Background area
STEP 2. Set up Model & Outfit 👗
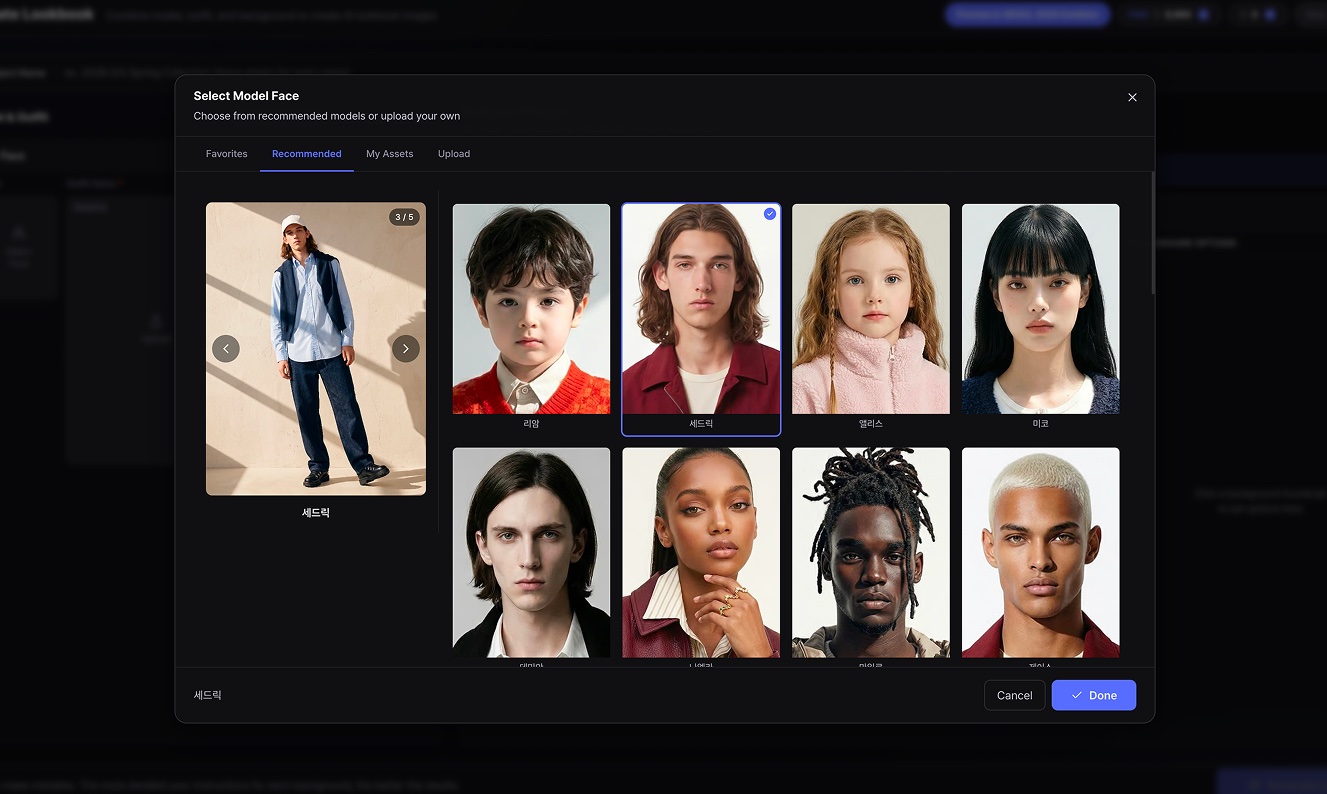
First, set the model and outfit. Click an empty image slot to upload your own, or pick from LaonGEN’s recommended sets.
- The outfit image is required — it must be uploaded.
- The model image is optional — you can generate with a recommended model instead.
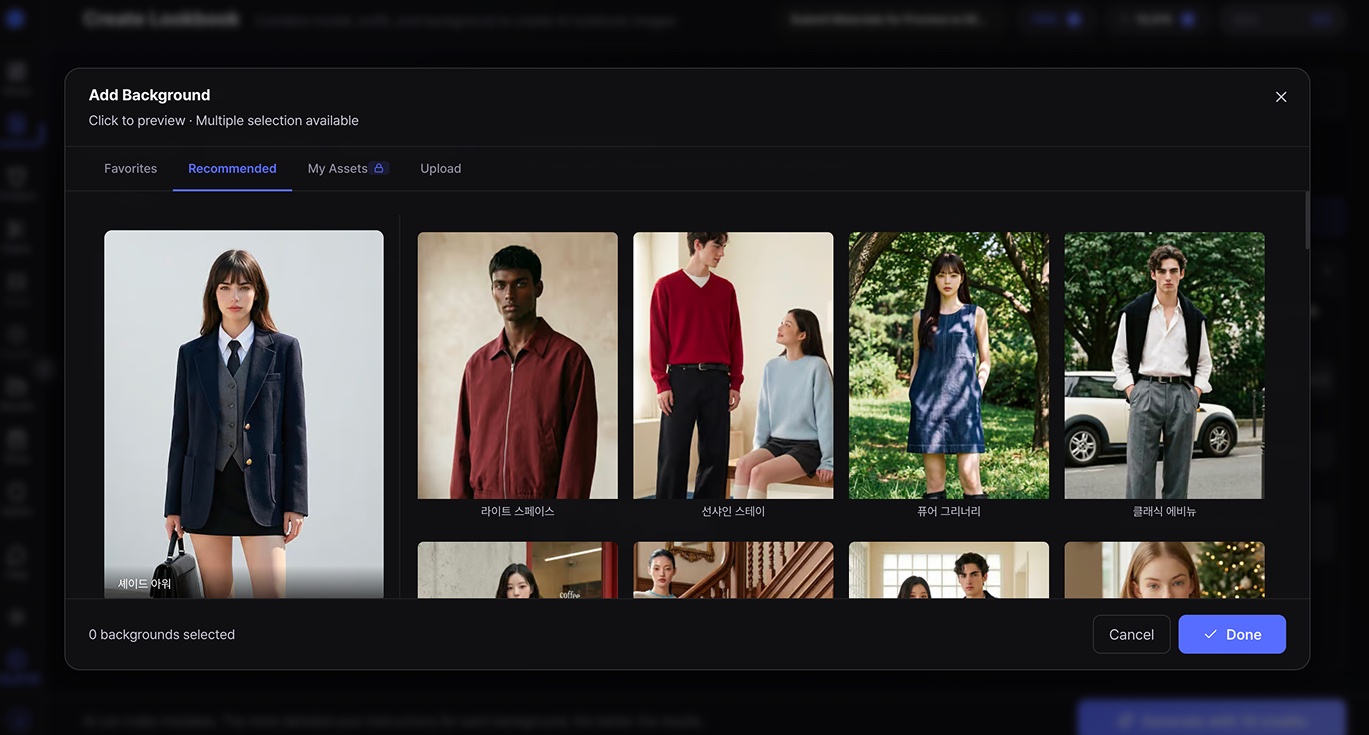
STEP 3. Set the Background 🏙️
Next, set the lookbook’s background. Upload your own or pick from recommended backgrounds. The background drives the location, mood, and pose direction of the generated lookbook.
You can pick multiple backgrounds at once, and clicking one lets you set the following options for that background.
- Count — how many images to generate
- Ratio — 1:1 / 3:4 / 4:3
- Composition — Default / Full body
- Instructions — a prompt field for the mood you want
💡 Instructions TIP! Short mood and lighting keywords are enough. Example:
white linen mood, natural backlight. Leave it blank to auto-generate to the background’s vibe.
STEP 4. Click Generate 👇
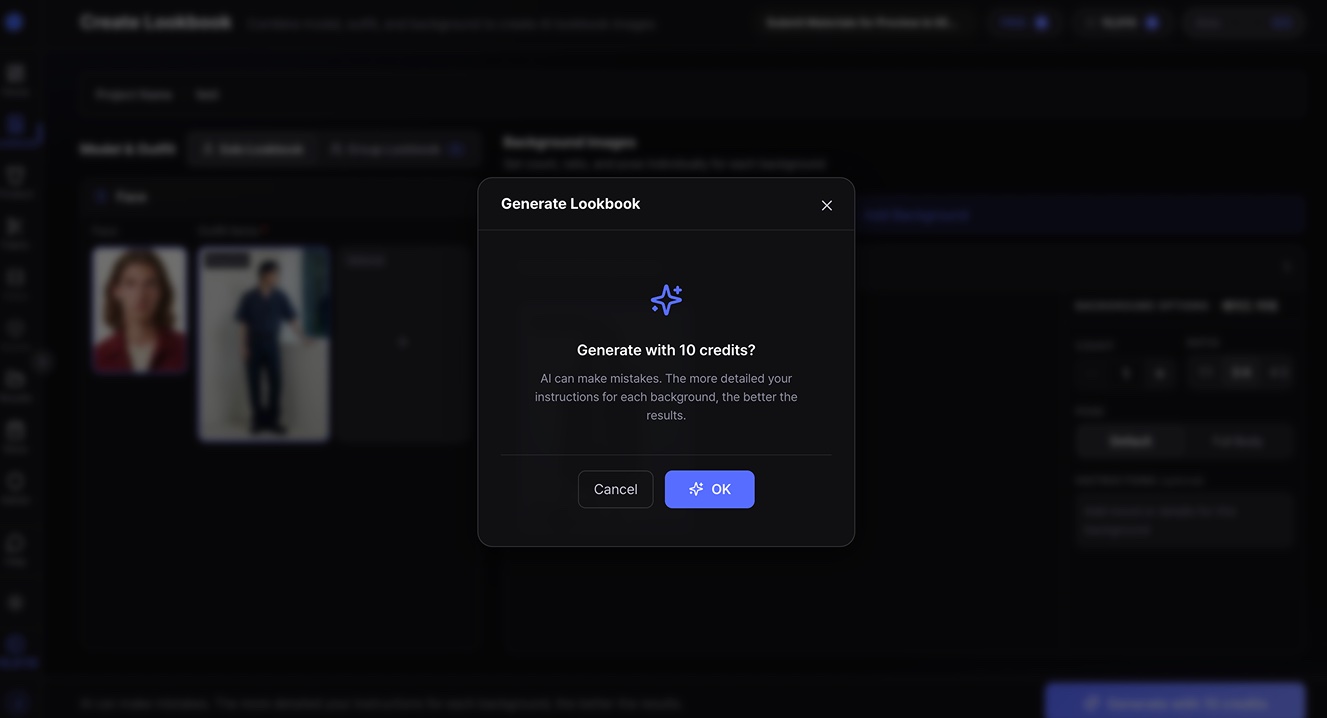
When everything’s set, hit the Generate button. The system creates your solo lookbook based on the images and options. The button also shows how many credits this generation will use.
Review and use your results 🎉
When generation is done, check the results in the Gallery. Pick your favorites and drop them into product pages, Instagram feeds, or lookbooks. If a result isn’t quite right, tweak the background or instructions and try again. The sharper your outfit image, the better the results!
Related guides 📚
One outfit image is all you need. Ready to make your first lookbook? 👇